How to Set up Einstein Bots
As we know that, this world is changing and technology is taking the lead. Today everything is going digital!
Here, salesforce has defined a feature as Einstein bots which is the part of Salesforce Service Cloud. The main purpose of the Einstein bot is to accurately without waiting for a human agent and to interact with customers quickly. In this feature, Einstein bots can send messages, ask questions and perform the actions based on the customer input and based on the rules defined.
If you want to set up the Einstein bot, firstly, you have to connect a message channel or chat implementation. For this chat implementation, you must check if the chat is enabled or not.
Please follow the below steps to enable the chat:
Go to setup → Enter Chat in Quick find box → Select chat settings → Enable chat


Setup Your Channel Implementation:
Go to Setup → Enter User in Quick Find box → Select Users → Select your User → Enable the ‘Service Cloud User’ Checkbox and Chat User Checkbox.

Now, You have to create a chat button by following these steps:
Go to setup → Enter Skill in Quick find box → Select Skills under Chat
Click the New button and Enter the below details.


Click Save.
Create Chat Buttons and Automated Invitations:
Go to Setup → Enter Chat Button in Quick find box → Select ‘Chat Buttons and Automated Invitations’
Click New → Enter Type & Name and In Routing Information, Add your Skills → Click Save

Setup Chat deployment:-
Go to setup → Enter deployment in Quick Find box → select Deployments → Click New button and Enter Chat deployment details

Go to Setup → Enter Chat Agent Configurations in Quick find box → Select Chat Agent Configurations → Click New button → Enter required details, assign users, and add skill & chat buttons.

Now, You have to create an Embedded Service. Follow these steps to create Embedded Service:
Go to setup → Enter Embedded Service in Quick find box → Select Embedded Service Deployments
Click on New Employment

Please See:-
Because I have already created my community page so Site Endpoint was available for me.
If Site Endpoint is not available then follow these steps.
Go to Setup → Enter All Sites in the quick find box → select All sites → Click New → Select Customer Service → Click on Get Started → Enter Name and Click on Create button.
Click on Workspaces → Select Administration
Click on Settings → Click on Activate.
Select Builder → Click on Publish
Now, Go to Setup → Enter Embedded Service in Quick find box → Select Embedded Service Deployment → Click on New Deployement
Click on the Save button.
Click on the Start button under Chat Settings.

When we will select the Start button then this popup window will appear, which means that the Chat deployment and button are selected properly.

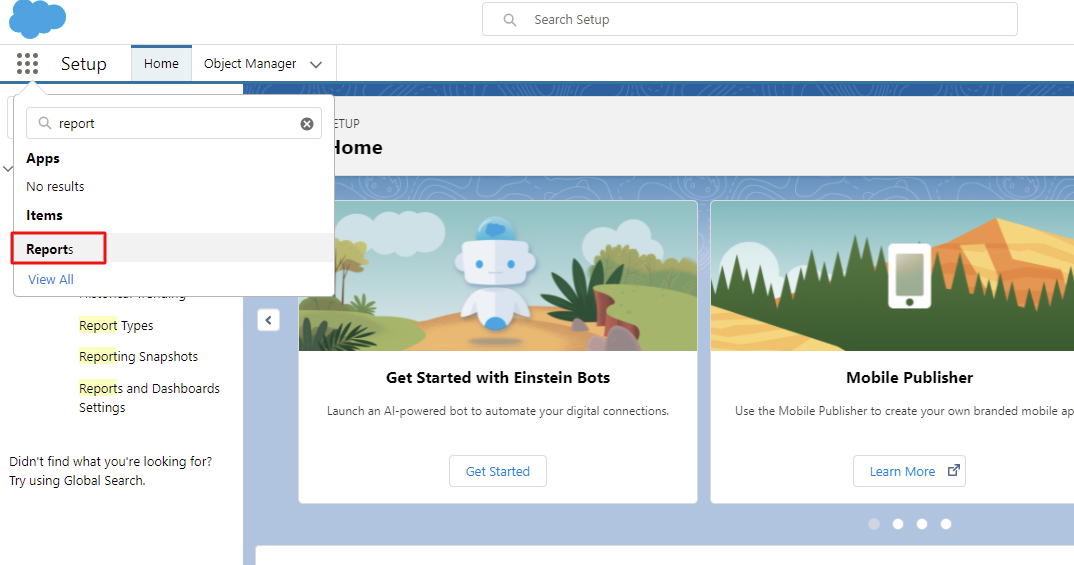
Now Let’s start the Einstein Bot Setup. Follow these steps to set up the Einstein bot
Go to Setup → Enter Einstein Bot in Quick Find box → Select Einstein Bots.
Turn On the Einstein Bots Toggle button. To enable this, you have to accept terms & conditions (For 1st-time users).

By enabling this you can see that a permission set ‘sfdc.chatbot.service.permset’ is created for this. You can control all the access of the bot from here.
To create a new bot by clicking the New button.
Select Start from Scratch → Click Next.

Enter Name and bot’s language → Click Next


The main elements of the Einstein Bot Builder are Dialogs, Entities, and Variables & it is used by managing the conversation between your bot and customers.

Click on Main Menu → Select Transfer To Agent and End Chat from Select menu item → Click Save.
Click on Overview:-

Create a channel by clicking on the Add button and If you’re having problems in adding channels, do it with a setup chat. Click on the Activate button → Click on Preview


Click on the “Agent Offline” and start chatting.

After enabling the “Require Agent Online” from Overview you will have:-


Comments
Post a Comment