How to setup Web To Case in Salesforce
Follow the below steps to create the web-to-case.
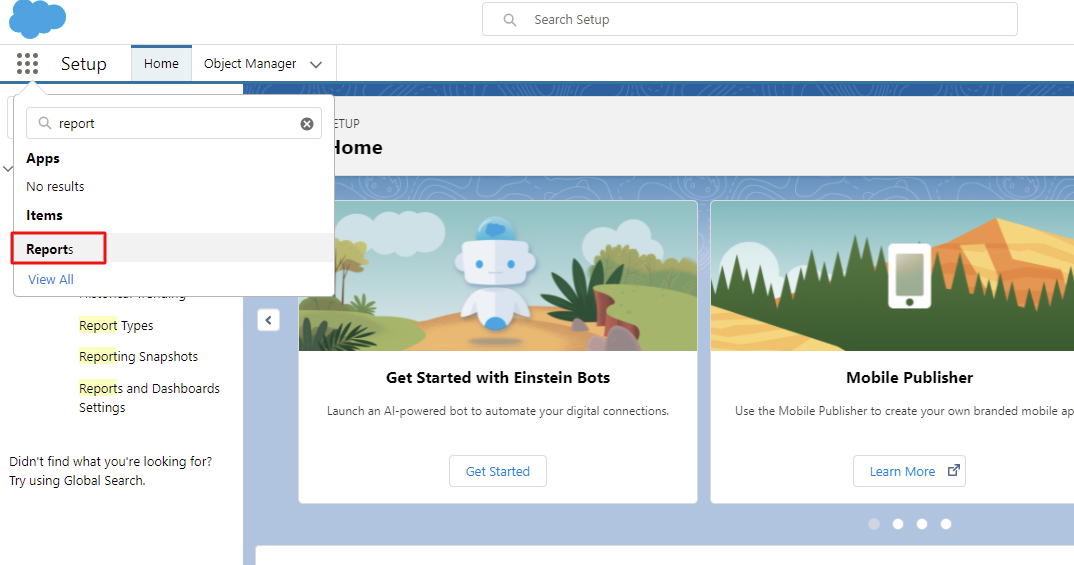
Step 1: Click Setup and in the Quick Find box enter Web and click Web-to-case.
Step 2: Check to enable Web-to-Case.
Step 3: Deselect Require reCAPTCHA Verification. We’re not going to cover reCAPTCHA here.
Step 4: Choose the default Case Origin as Web.
Step 5: Select an email template that will be sent as auto-response to a customer after the case is generated in Salesforce.
Step 6: Select Hide Record Information to prevent case information from appearing in the email sent to the customer.
Step 7: If you want, you can use an email signature that’s different than the one in the response template, enter a new signature.
Step 8: Click Save.
Generate an HTML form and use that on your company website.
Step 9: In setup the Quick find box enter Web-to-case and click on Web-to-Case HTML Generator.
Step 10: Which case field you want to fill from your customer to place that field on the form select case fields from Available fields to Selected section.
Step 11: Enter the URL to appear after customers submit their case, in this case, we will use ‘thank_for_submit’.
Step 12: If Include reCAPTCHA in HTML is checked, uncheck it. We’re not going to cover reCAPTCHA here.
Step 13: Click on Generate. Then copy the HTML content and place it on the company website.
Meanwhile, you can create the Leads in Salesforce from our own website by using Salesforce’s Web-to-Lead feature.
How to set up?
Setting up Web-to-Case involves enabling the feature, choosing settings, and adding the Web-to-Case form to your website.


Comments
Post a Comment